

Spring to me means pretty pastel colors, purples and greens bursting forth after a long winter. It also happens to coincide with my mother’s birthday, giving me an opportunity to use this lovely combo on a card for her. This card was inspired by a package of flower embellishments by K & Co. that I found last spring. I had used up the flowers in that package, and they were really designed for an A2 card size. Mom Birthday Cards call out for an A7 size. Plus, given the transient nature of craft products in the major craft stores, I was certain I’d never find that package again and set out to create my own. I recently purchased the Penny Black Flower Gala stamp set and realized it was the perfect set to build layered handmade embellishments.
I’m not a fan of fussy cutting. I’d rather create a mask in a photo editing program and cut it out on the Silhouette, especially for stamps where I may want to mask off the stamped image from the background. I can use that mask to protect the image so I can blend inks on the background or do other techniques where I want a one-layer card. Here, for this card, the masking was used to cut out not just the stamped image but the flower and leaf elements to make it three-dimensional. For one time use, simply fussy cutting would have taken *much less* time. You can skip to here if you don’t want to read about the masking process using Silhouette Studio.
How to Mask a Stamped Image
Warning! Advanced graphics and Silhouette steps ahead.
The first step of the process was to stamp the image in black ink. Black ink makes it much easier to scan the image into Studio. I used both stamps in the set so I would have the tulip mask created while I was at it. Next, I placed the stamped image onto a Pixscan mat and took a picture of it. There are two uses of the picture. The first is to do the editing on a copy to isolate the parts I wanted as the 3-dimensional elements, and the second is to import into Studio to create the outline mask.
While I used Corel Photo-Paint here, you could use Paint included in Windows under Accessories if you don’t have photo editing software. While editing both of these pictures, I left the Pixscan mat around the image since it will be used to create the trace and Studio needs the mat markings to properly recognize the right size and shape of stamp.
Clean Up Your Scanned Image
I opened a copy of the image in Corel Photo-Paint and worked on erasing any adjoining lines from around the petals/flowers/leaf elements that I wanted. While you’re at it, make sure that there are no gaps in the outline of your images. You may need to bust out the pencil tool and fill in any gaps, otherwise any non-contiguous line will create problems when tracing in Studio. Save this copy with a new name, making sure you don’t overwrite the original, which we’ll also use next.
While you’re still in your photo-editing software, re-open the original Pixscan image. Make sure there aren’t any gaps in the overall outline of the images you want to create an outline mask of. Save this copy too. Or, you could do as I did here and stamp your image twice on the same page so I could create the 3D masks and overall outline mask at the same time.


In Silhouette Studio, open both copies and use the Trace tool to trace around each of the parts you want as 3-dimensional layers on the edited copy. And trace around the outline of the image you want for your embellishment base outline mask. Save these outlines as your masks in Silhouette Studio. That’s it for the hard stuff.
Pick Your Colors
The next step is to stamp your image in the desired colors you want for your embellishment. Since I wanted to use Copic markers to color in the images, and did not have appropriate Copic-friendly inks in the right colors, I used Shaded Lilac and Peeled Paint Distress inks. Using my MISTI, I stamped it twice on a half sheet of Neenah 80# Classic Crest Solar White cardstock. Because I used my MISTI, I was able to stamp it multiple times to fill in the gaps since Distress Inks are not the ideal solution for stamping.
I then mounted the stamped image to the Pixscan mat. I took a picture of the mat and imported it into Silhouette Studio. Next, I copied the masks for the base outline and aligned it to one stamped image. I copied the masks for the 3D elements and aligned those to the other stamped image. I had to use the rotate tool to slightly rotate the masks until they perfectly lined up to the stamped image.
A “quick” press of the button and voila! Perfectly cut embellishment pieces.*
Building the Card
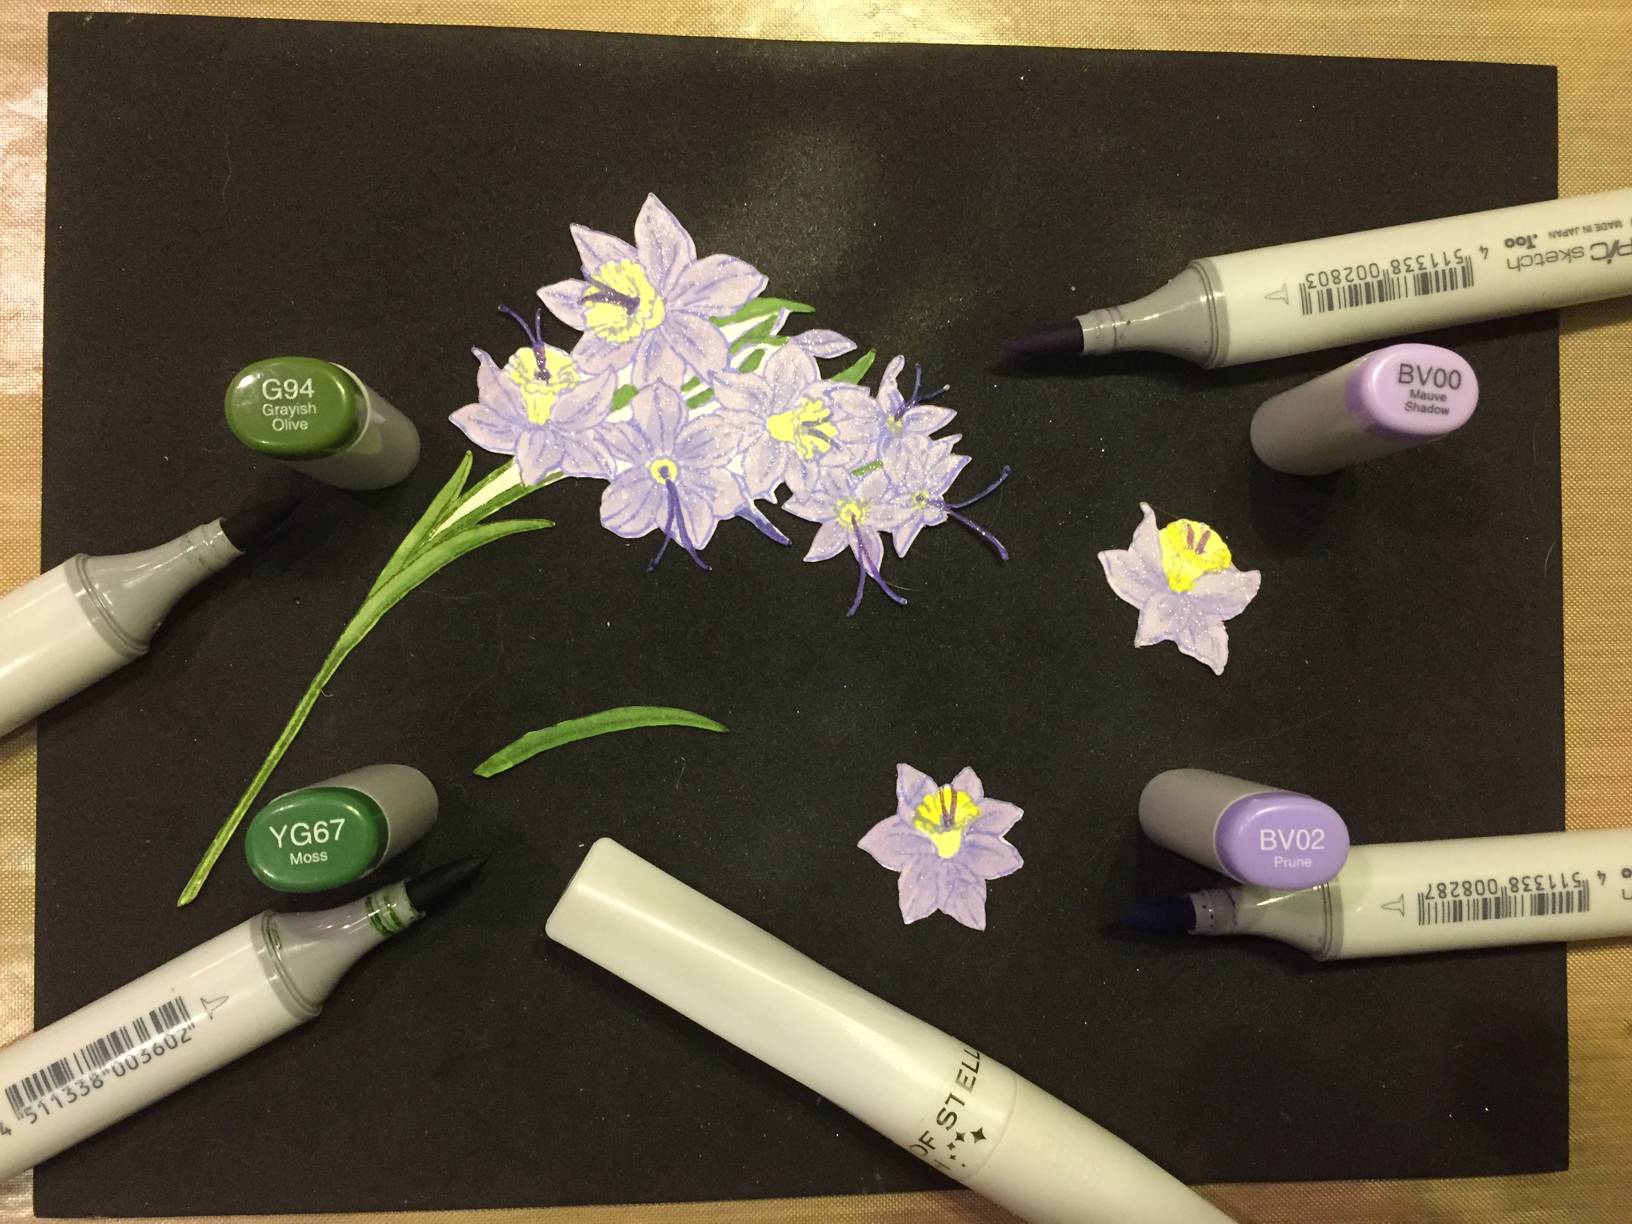
Once I had my embellishment pieces cut out, the rest was easy card assembly. I colored in the embellishment with Copics in Blue Violet and Yellow Greens. A little Wink of Stella added a pretty shimmer to the flowers. I used tiny pieces of foam tape to attach the 3D pieces onto the overall embellishment. Since I had colored the entire base piece, if you catch a peek of the base layer under the foam tape, there are no gaps in coloring.
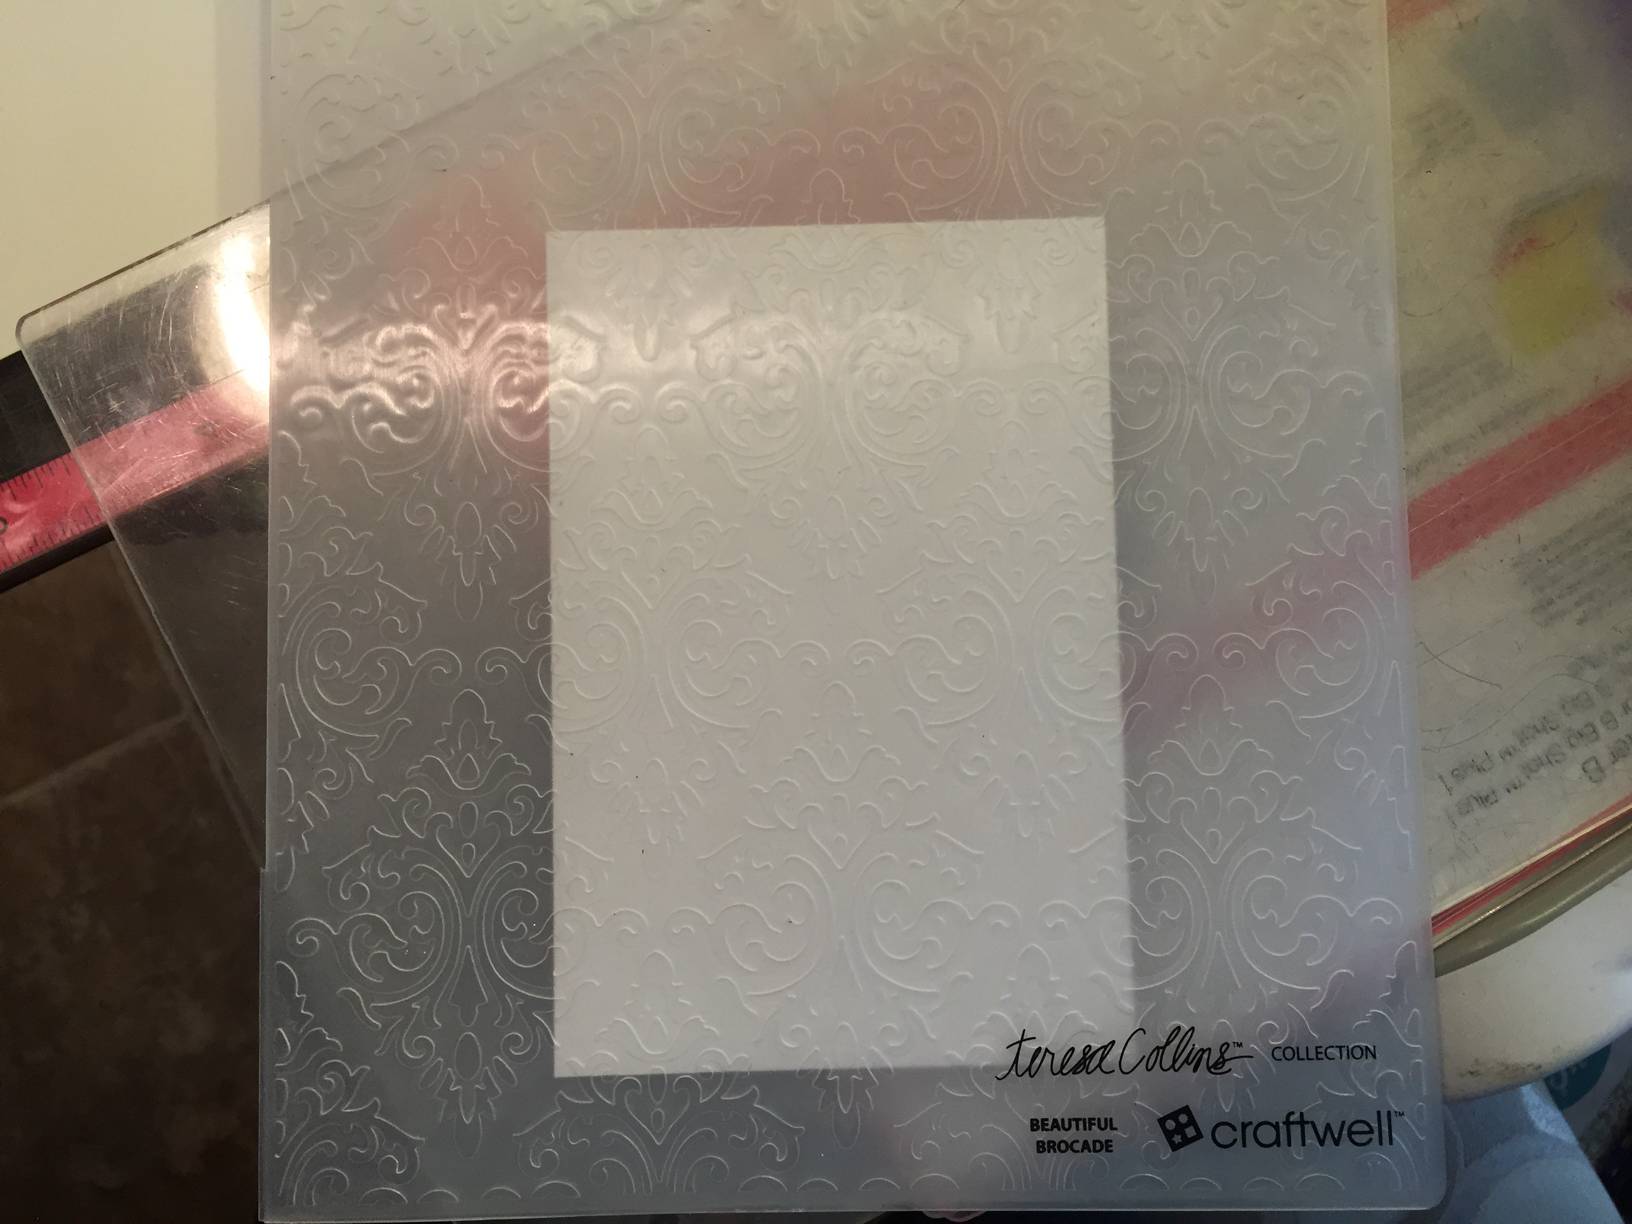
Next up, I pulled out a favorite embossing folder from Theresa Collins, Beautiful Brocade. My secret weapon for creating elegant designs with just a hint of shimmer is Recollections Shimmer cardstock. I wanted a quarter inch margin of base layer shimmer plus an eighth inch reveal of contrasting color underneath the shimmer paper. For this 5×7 inch card, I cut the shimmer paper to 4.25×6.25 inches before embossing. I carefully align the paper in the embossing folder so that there is symmetrical spacing top/bottom and side-to-side within the damask design. Then I ran it through my Sizzix machine to emboss.
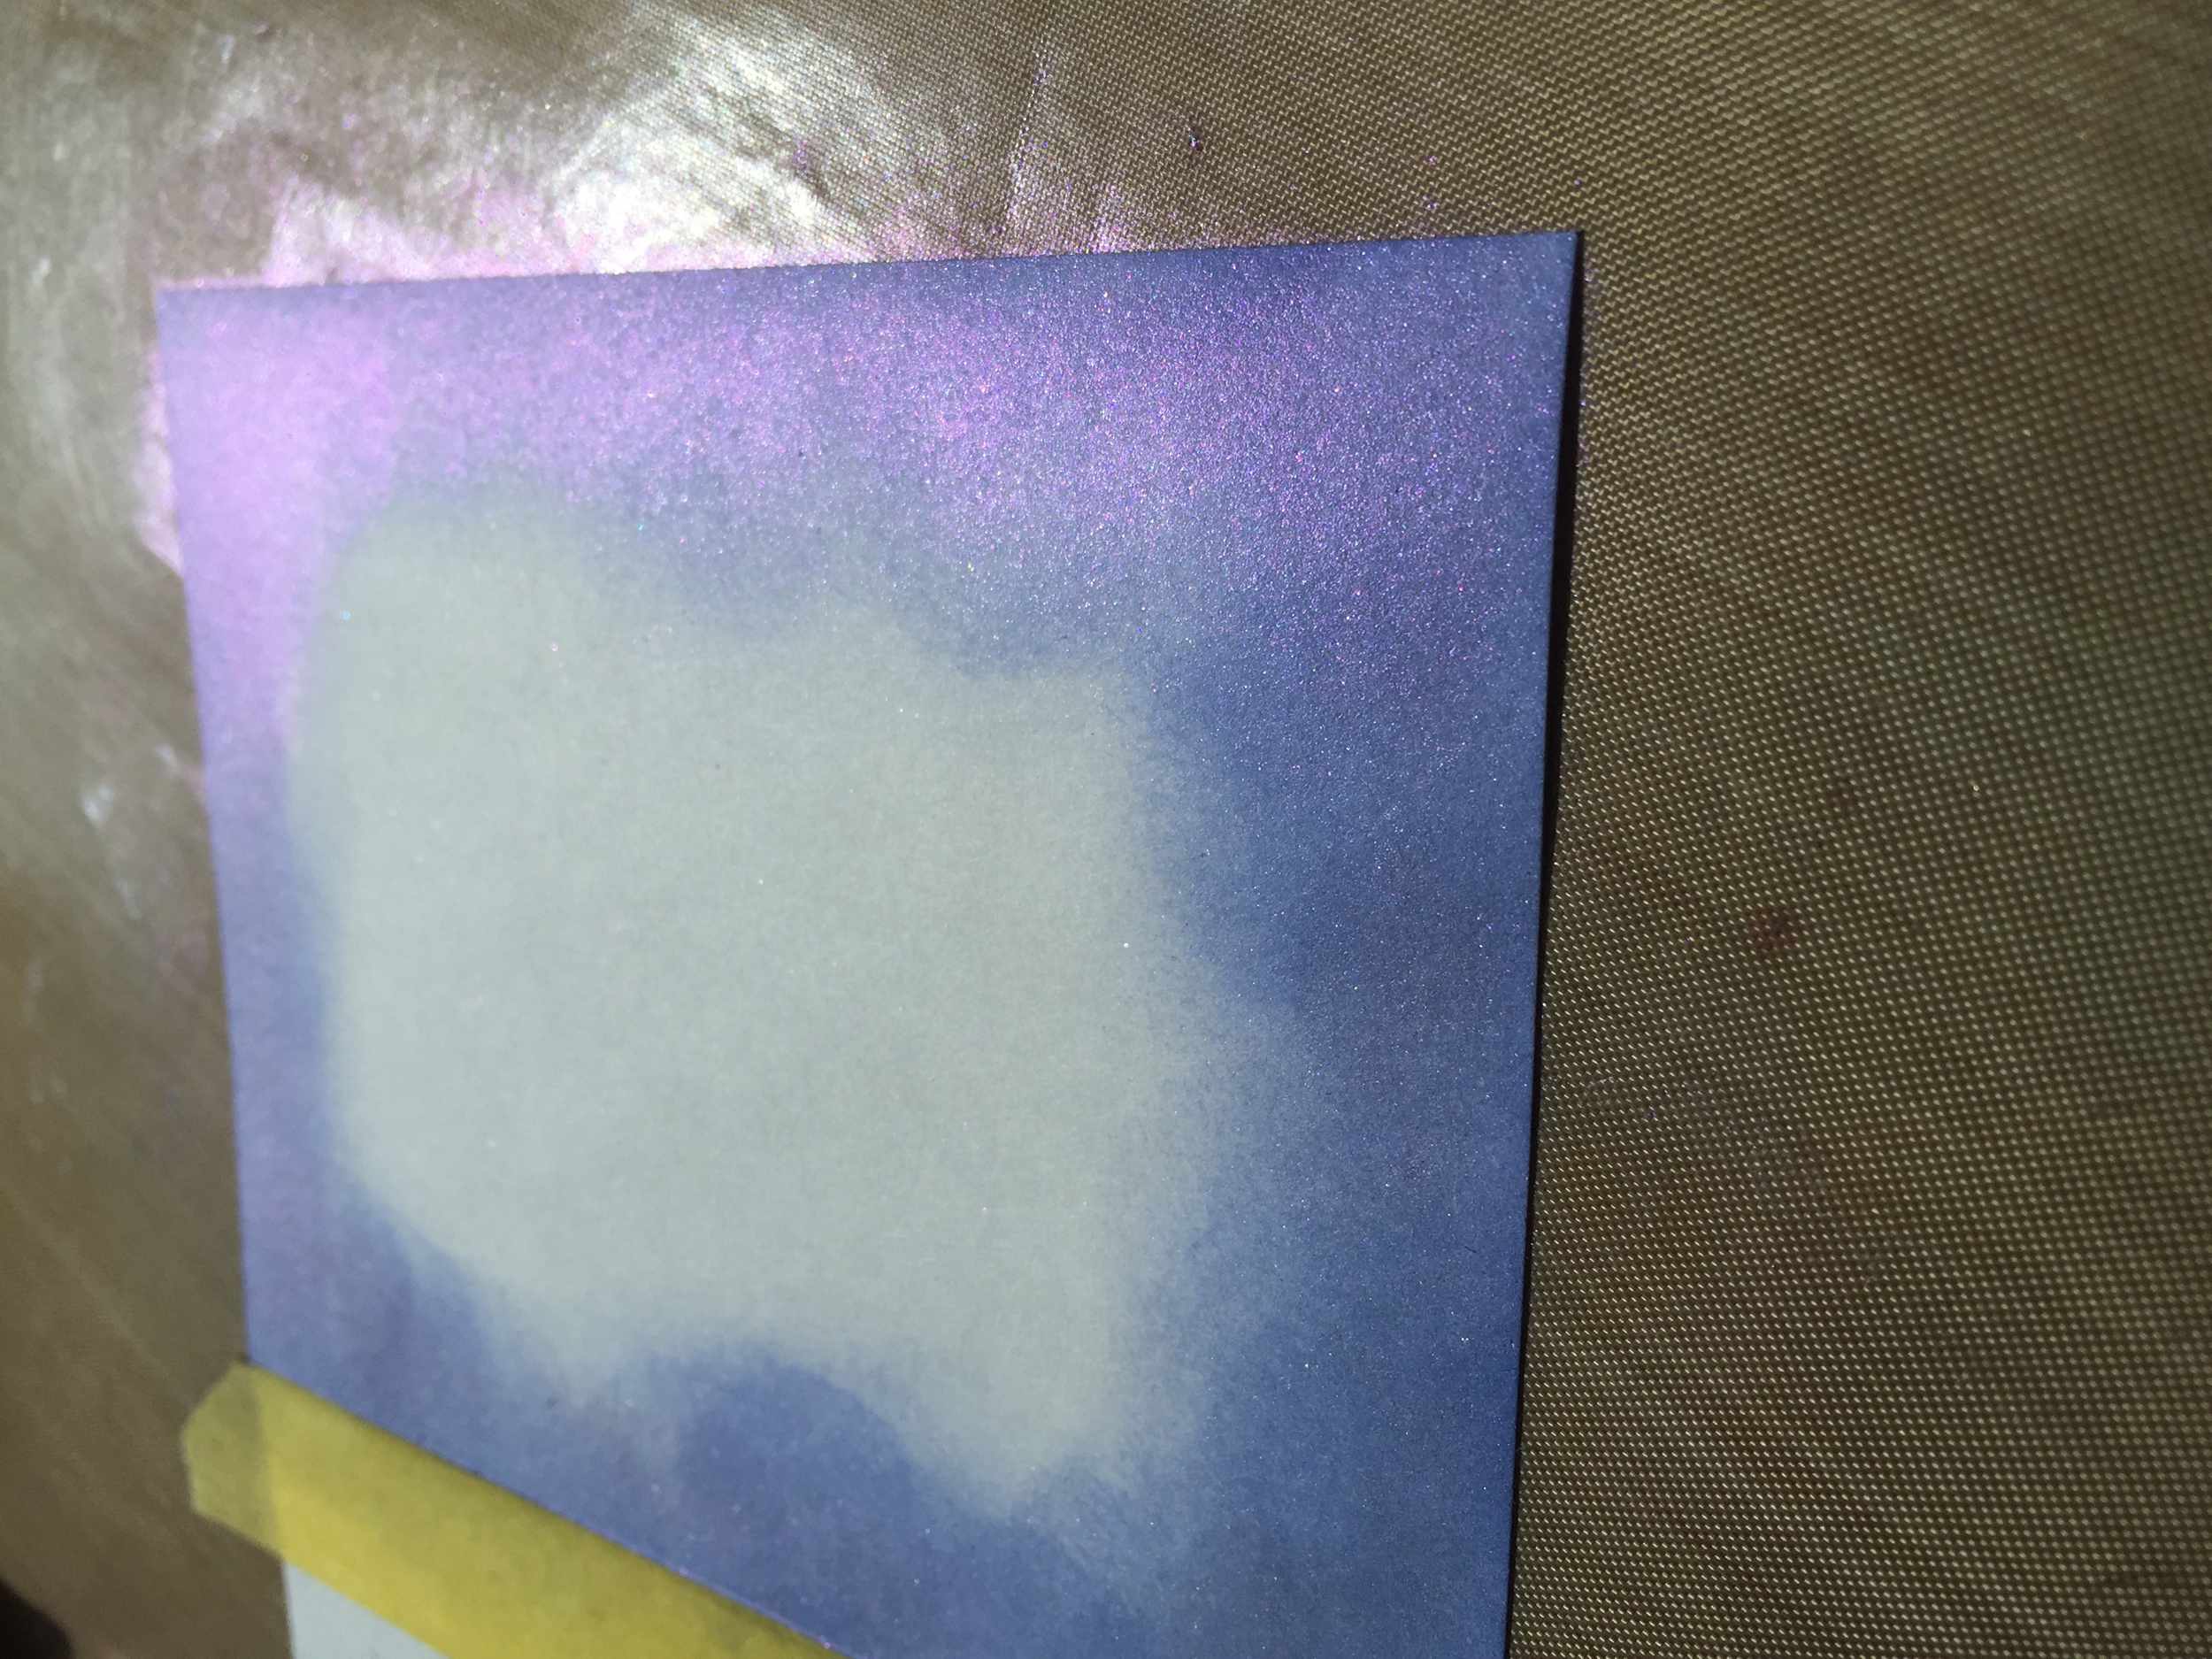


With the embellishment coloring done, and the shimmery cardstock embossed, it was time to choose the sparkle for the base layer. Having a selection of options from this previous post, it was easy to pick the Shaded Lilac/Perfect Pearls background for the card base layer.
Get Sentimental
I’ve found there just aren’t a lot of good choices for the sentiment on the inside of cards. I like to find the perfect greeting and, use Silhouette Studio for the layout. I can then print it out on the card base using a decorative font. Before applying the ink/pearls to the paper, I make sure I print the interior sentiment. It can get messy depending on the materials on the outside and, as I found out, you don’t have to worry about paper orientation when running through the printer if you do it first.
A quick perusal through some deep purple cardstocks found the contrast layer. The deep purple contrast layer paper was also used for the greeting. I ran a small piece through my beloved Xyron machine to make it easy to mount the greeting die cuts. I used Tim Holtz’s Celebration Words die for the Happy Birthday.
Some glue adhered all of the layers together and I was done. Now I just need to remember to send the card out on time!


* Quite honestly, creating masks in Silhouette took a long time. Since I was not careful about gaps in my outlines and had to do tedious point-by-point editing of the outlines. As much as I dislike it, fussy cutting both layers probably (no, edit that, definitely) would have been much faster.
Links included in this post are not affiliated links. They’ve just been added to make it easy to find the products that I used.


